271
Really happy with how it turned out! Decided to show it off to strangers for now as I haven't given it to him yet and i know he isn't on here. 😆. And it lights up!
Really happy with how it turned out! Decided to show it off to strangers for now as I haven't given it to him yet and i know he isn't on here. 😆. And it lights up!
~~Got a picture of it lit up?~~ Looks great! Just saw your comment
I messed around with my brother's new resin printer (Phrozen Mega 4K) this past spring and I made myself an Arkham batarang that could fold.
Just realized i should probably share the STL link in case anyone wants to make their own: https://www.thingiverse.com/thing:4245103
Why so riddlous? *beatboxes*
Here it is lit up!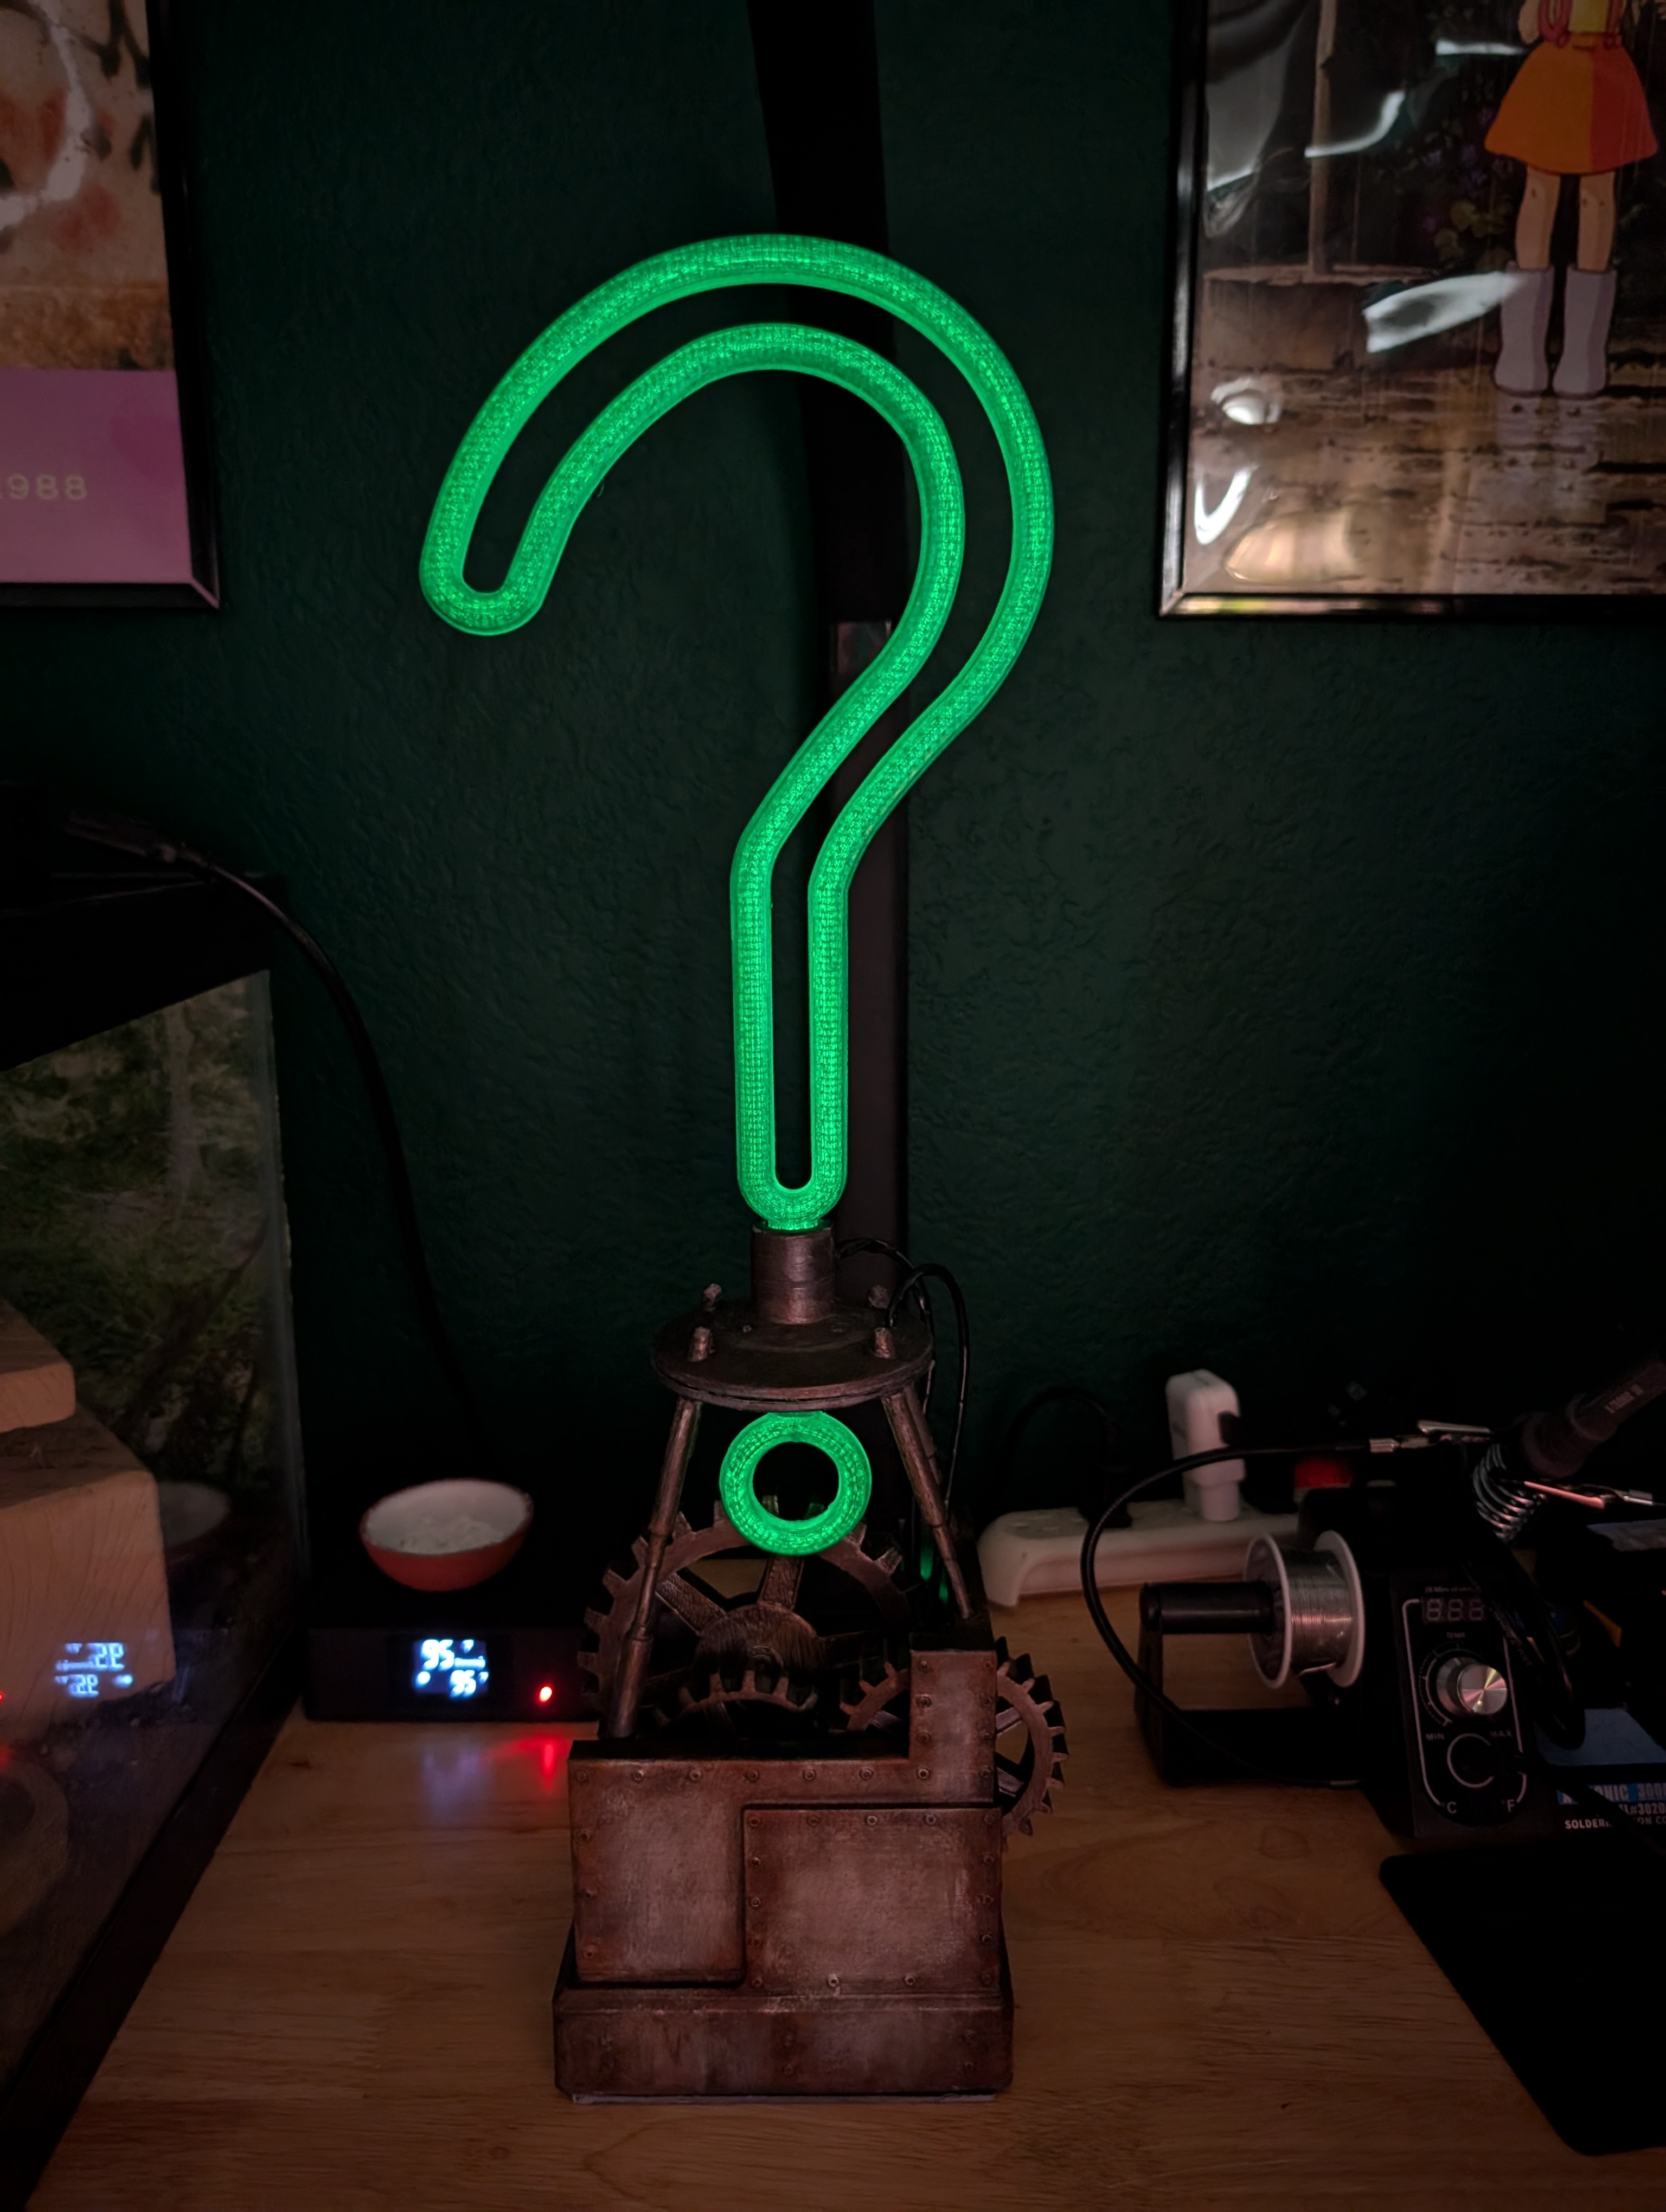
IT LIGHTS UP????
Hell ya it do!
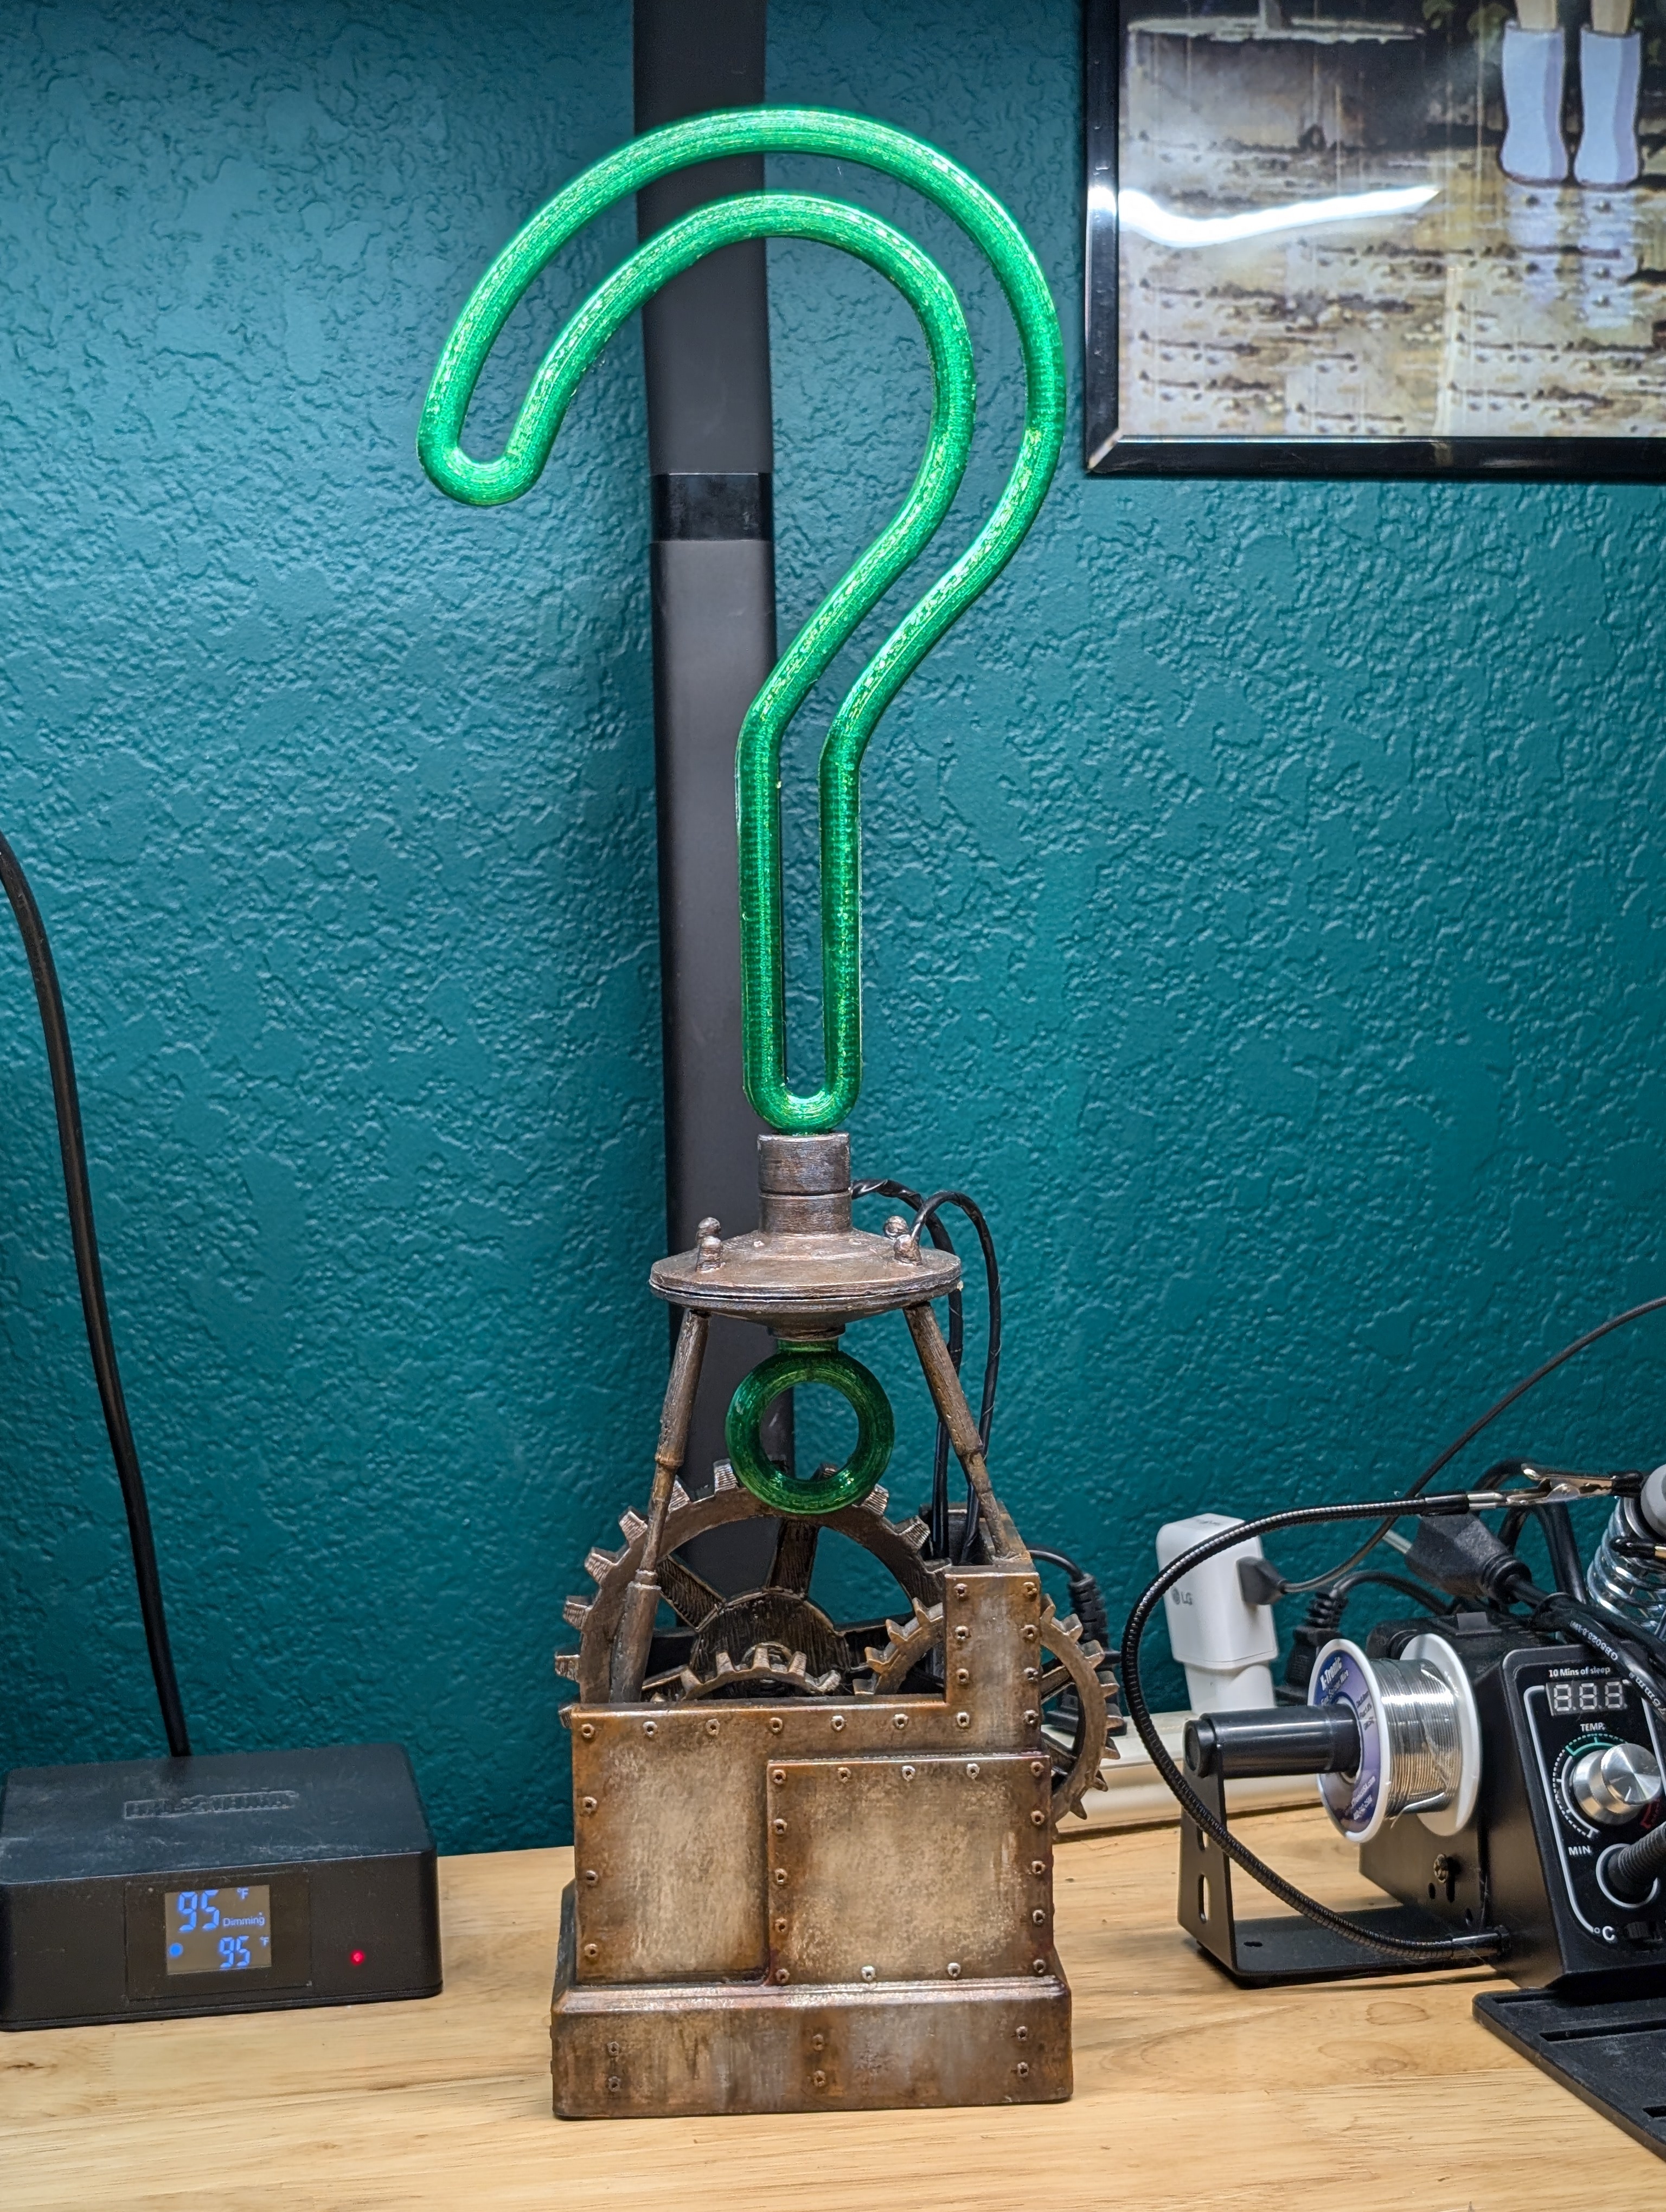
How'd you pull that off? The question mark looks like filament, not like a neon tube.
Its translucent green filament with green EL wire run through it, with the battery pack stored in the base.
That's dope as fuck
OMG that's so cool!
Are the gears plastic, or are they real gears that turn?
Printed plastic, but I'm glad my paint job made you question! I do wish the gears turned, but the model designer was trying to emulate what he saw in the game, which didn't seem to care about real functional parts, haha
Are we being denied a picture of it lighting up?!
Apologies, the issue has been rectified 🙂
Looks even better lit up like that!
Thanks! I do wish the EL wire was a bit brighter, but when the lights are all off it looks great!
Looks amazing! Bonus points for making it light up. He’s going to love it!
Thank you! I have high hopes 😉
Best brother.
Haha, thanks! He's a fellow gamer, so i get to work on cool 3D printing projects without clogging up my living space with knick knacks. 😆
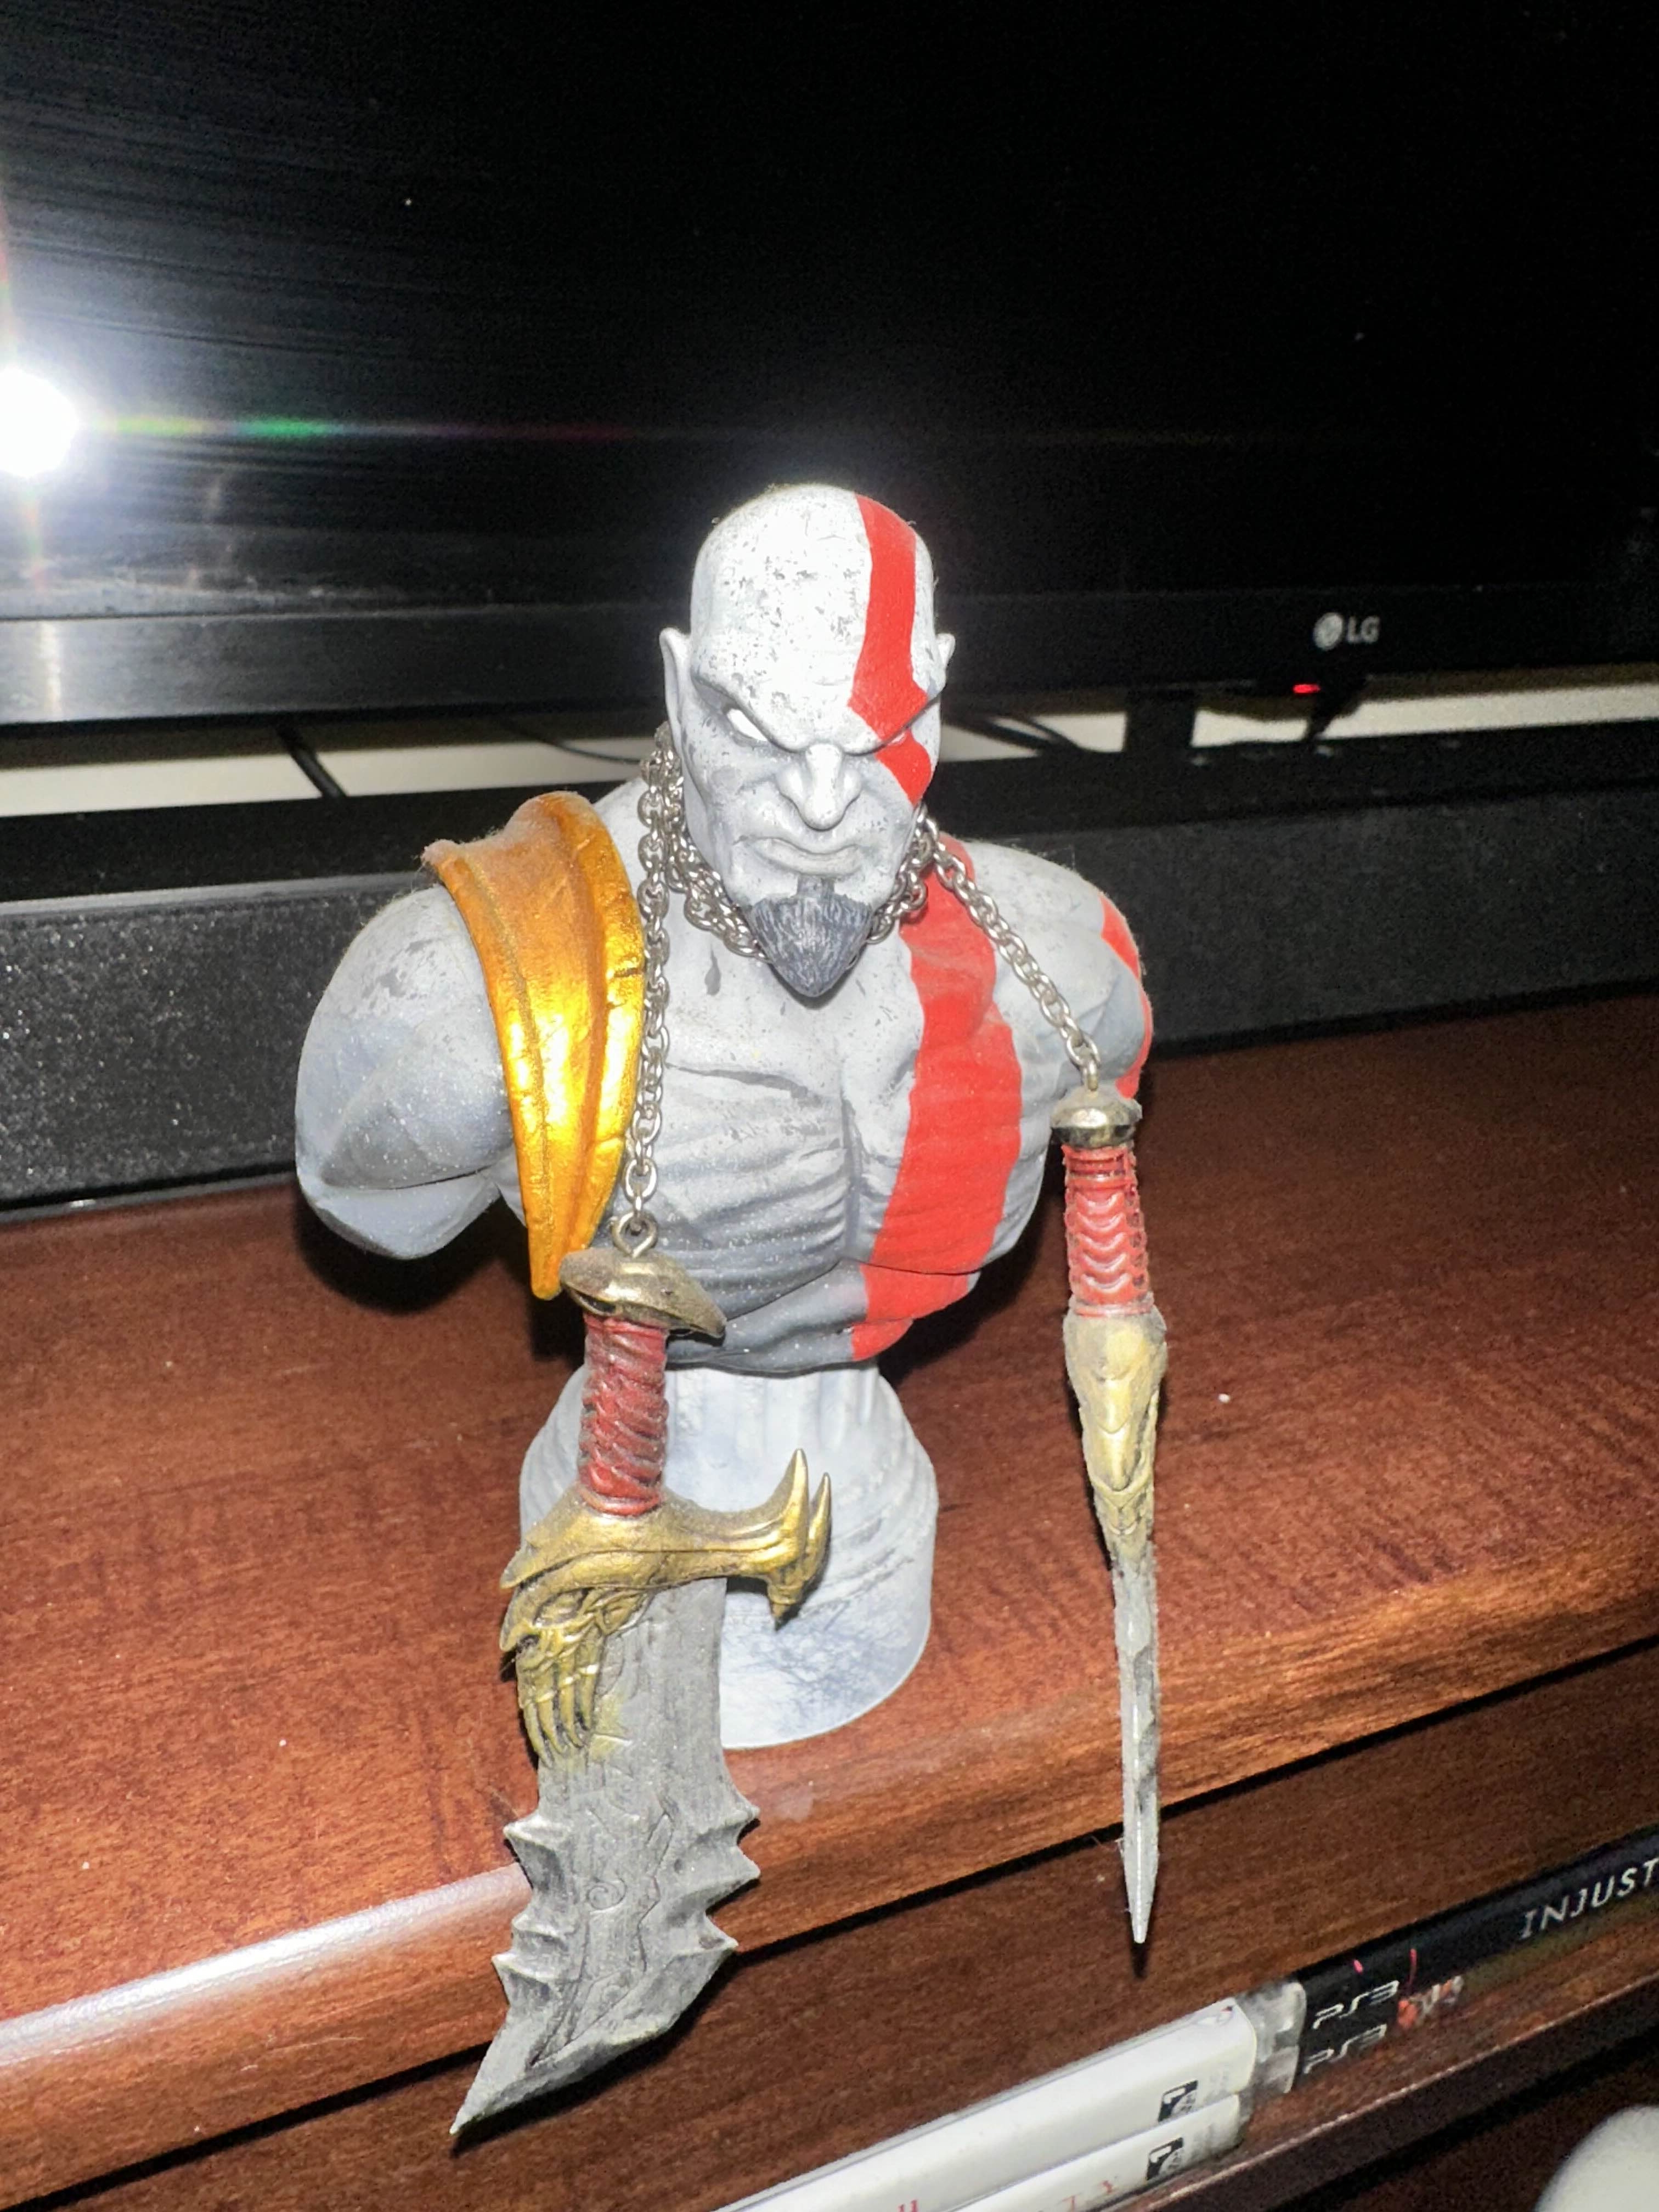
I printed/painted this for him a couple years ago (sorry for potato quality photo):
Out of curiosity, what is your painting setup/process? Nice work!
Thanks!!!
Here's a quick rundown:
And there you have it!
Thanks for sharing!
Fosho
Right. It looks so smooth.
Really well done! Please post a pic with light on
Thanks, done!
Are you going to hide it behind a cage with an elaborate hidden way to get to it?
It crossed my mind, and i want to SO BAD, but unfortunately i don't have enough time to print out something large enough to house it. But maybe for Christmas! Lol
Some of those trophies were just so aggravating
1000%
3DPrinting is a place where makers of all skill levels and walks of life can learn about and discuss 3D printing and development of 3D printed parts and devices.
The r/functionalprint community is now located at: !functionalprint@kbin.social or !functionalprint@fedia.io
There are CAD communities available at: !cad@lemmy.world or !freecad@lemmy.ml
No bigotry - including racism, sexism, ableism, homophobia, transphobia, or xenophobia. Code of Conduct.
Be respectful, especially when disagreeing. Everyone should feel welcome here.
No porn (NSFW prints are acceptable but must be marked NSFW)
No Ads / Spamming / Guerrilla Marketing
Do not create links to reddit
If you see an issue please flag it
No guns
No injury gore posts
If you need an easy way to host pictures, https://catbox.moe may be an option. Be ethical about what you post and donate if you are able or use this a lot. It is just an individual hosting content, not a company. The image embedding syntax for Lemmy is 
Moderation policy: Light, mostly invisible